

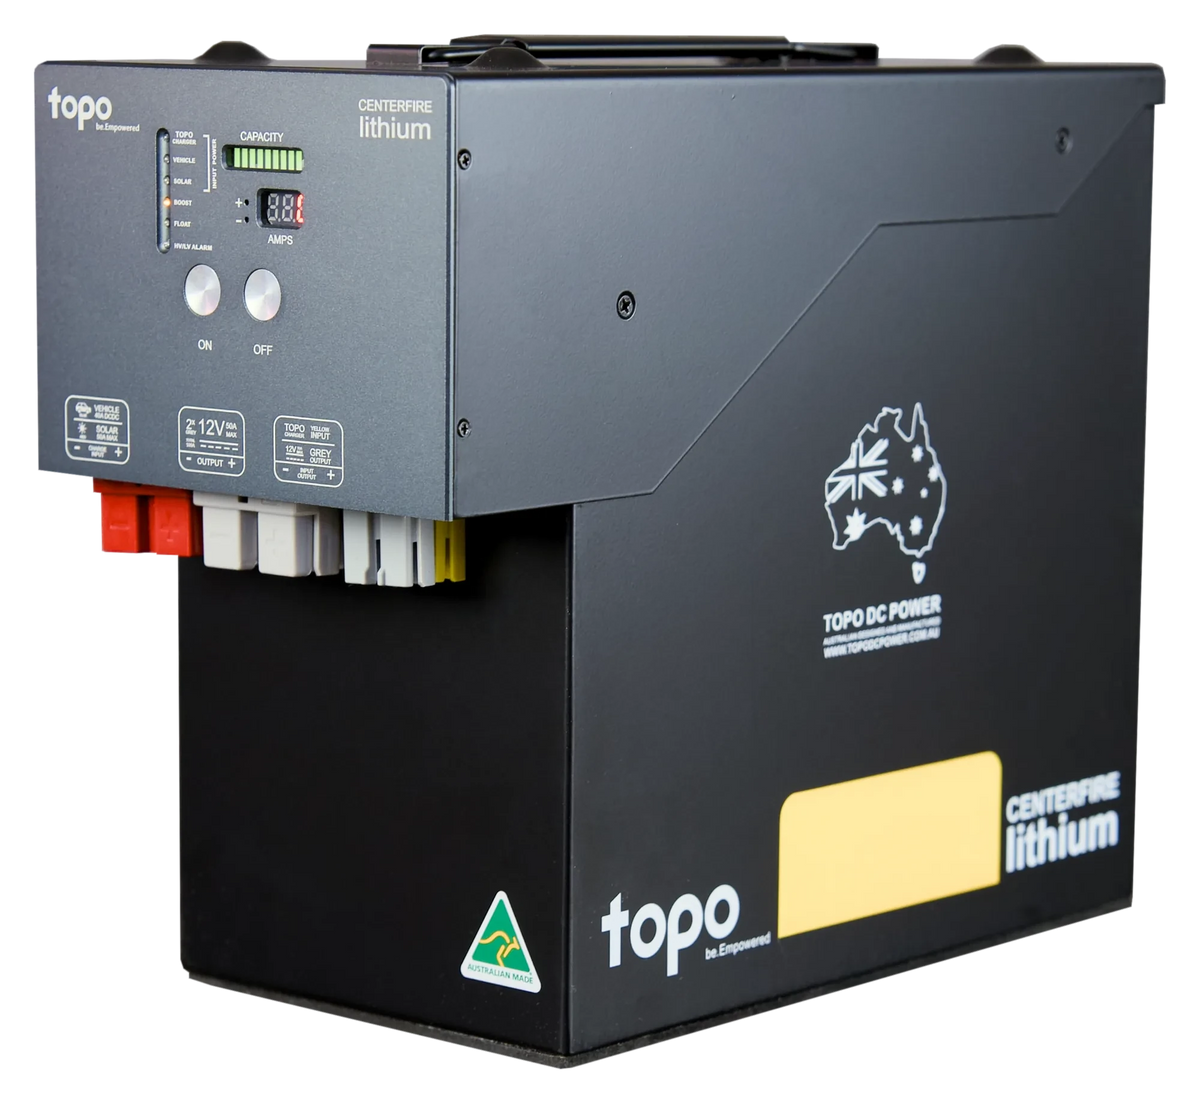
 Centerfire CF100
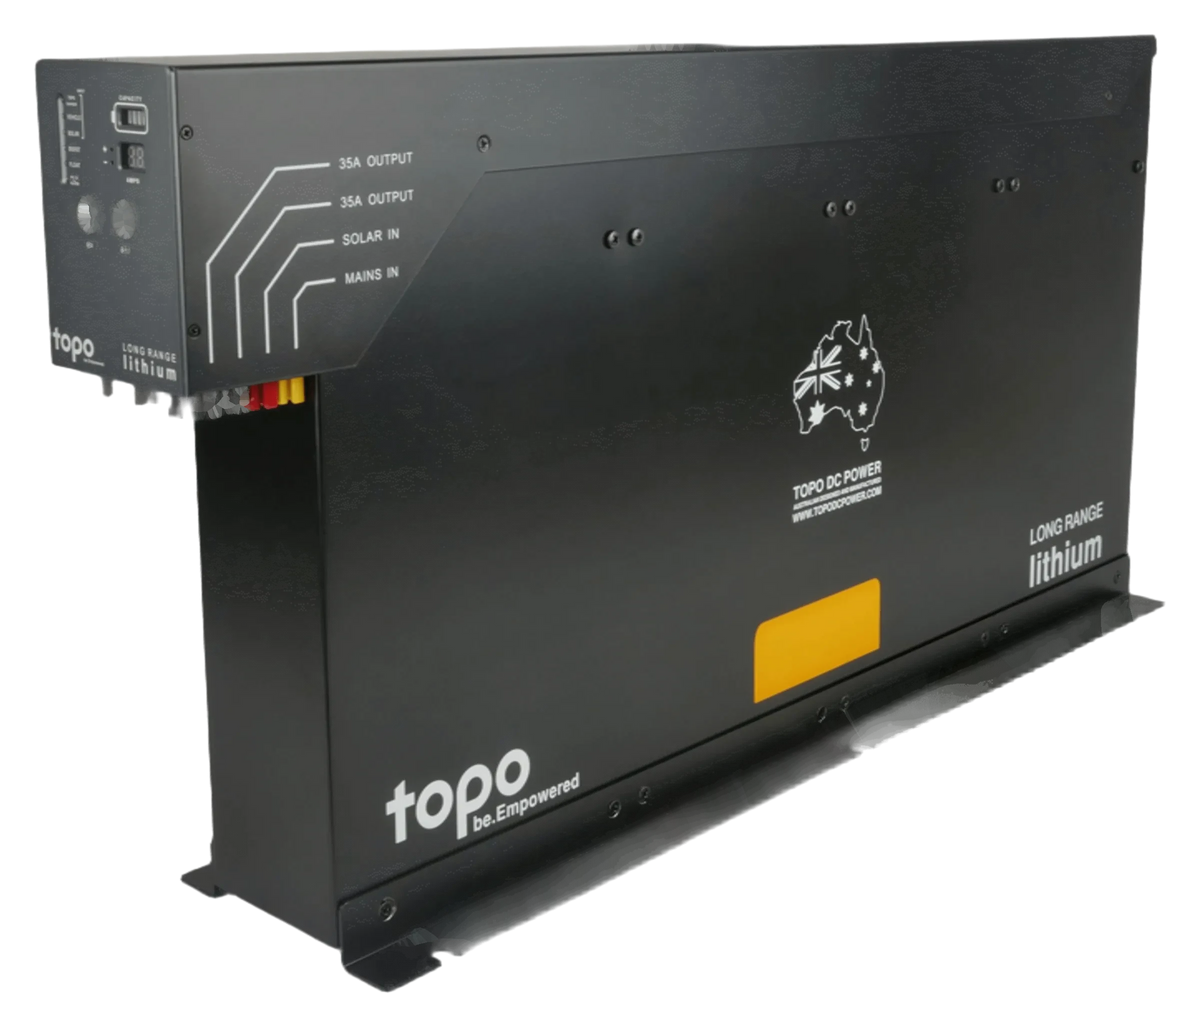 Long Range
 Tinny Mate
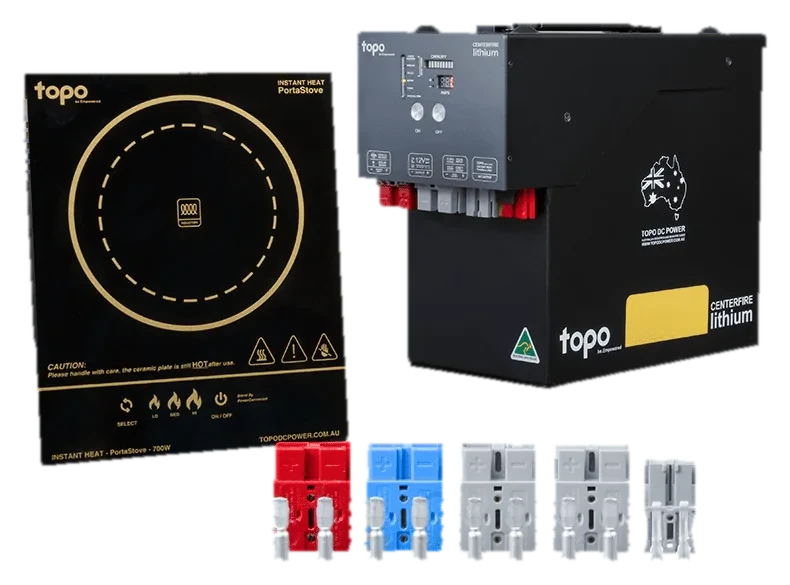 Direct Drive
DIY 12V dual battery setup: how to fit one yourself
With the DC-DC charger built into the unit, the vehicle side of a DIY dual battery setup is two wires from the starter battery, one inline fuse and one blue Anderson plug. Choose where the unit sits first. The wiring follows.
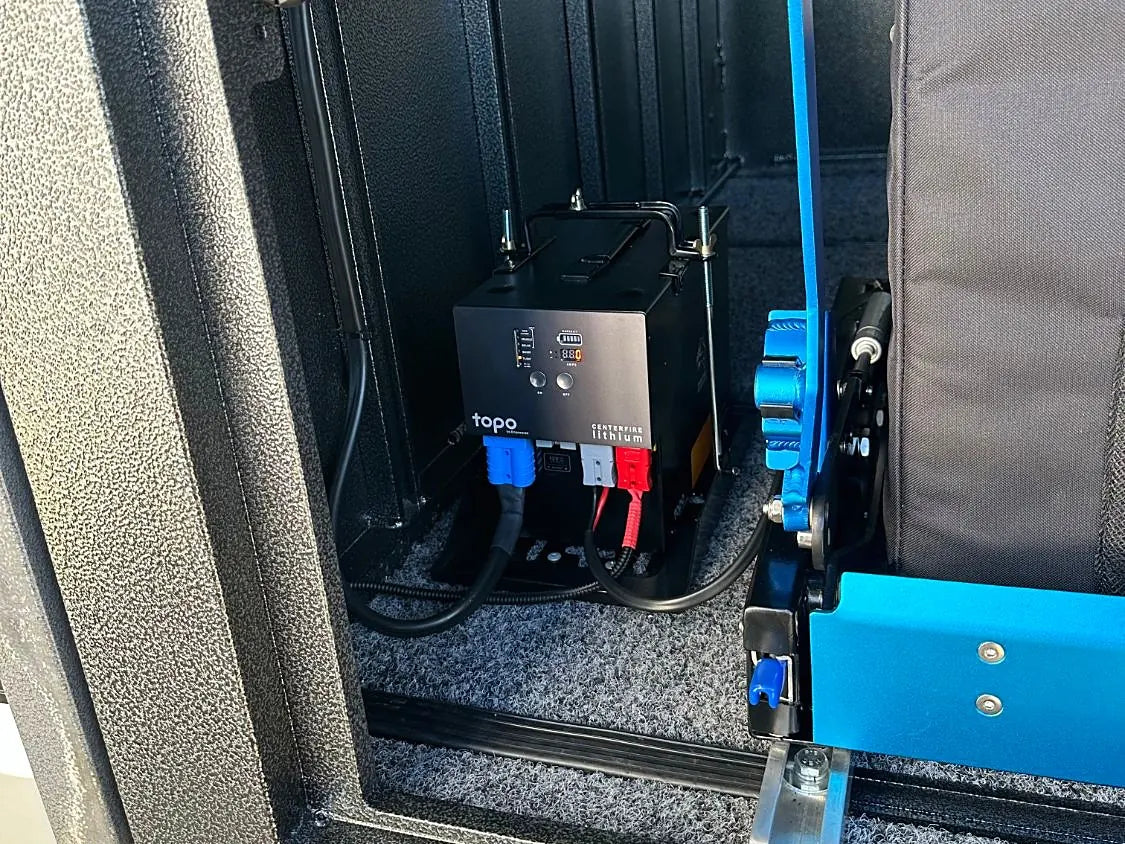
Short answer: on the Centerfire CF100, the DC-DC charger, solar controller and dual battery controller are inside the unit. The vehicle side of the install is a fused positive and a negative from the starter battery to one blue 50A Anderson plug. If you can wire a fused circuit to automotive standard, you can fit it.
What you actually fit
A conventional dual battery setup is a list of separate parts: a second battery, a DC-DC charger, a solar regulator, a monitor, brackets, fuses and the cable between them. Each one is mounted, wired and fused on its own.
A Topo unit carries those parts inside one steel case. What stays in the vehicle is the charge connection:
- a positive (red) and a negative (black) cable from the starter battery
- an inline fuse on the positive, close to the battery
- a blue 50A Anderson plug where the unit sits
The unit plugs into that blue plug. Solar goes into the red input and the Topo 10A Mains Charger into the yellow one. The grey outputs power the fridge and the rest of camp.
Why the vehicle charging is a DC-DC charger and not an isolator is covered in DC-DC charger or isolator for a lithium dual battery.
Choose where the unit sits first
The wiring is the straightforward part. Placement is the decision that decides the cable length, so make it first. The common positions:
- under or behind the rear seat of a dual-cab or wagon
- in a ute canopy, raised off the floor
- in the boot or cargo area, secured
- between or beside drawers
Wherever it goes, the unit must be secured, kept dry and given room to ventilate. On a ute, fit it under a canopy or tonneau cover, never exposed to the weather. The CF100 is 288 × 138 × 245 mm with a 242 × 138 mm base, so measure the spot before you run a cable to it. Our vehicle pages cover the common utes, 4x4s, wagons and sedans by model.
Parts and tools
For the vehicle side you need:
- red and black automotive cable, sized for the run (see below)
- an inline fuse holder and fuse, rated to the cable
- cable lugs for the battery terminals, and the blue 50A Anderson connector
- heat-shrink, split conduit, and cable ties or P-clips
- a grommet wherever the cable passes through metal
Tools: a lug crimper suited to the cable size, an Anderson crimp tool, cable cutters, a heat gun and a multimeter. A poor crimp is a high-resistance joint, so use the right crimper for the lug.
The install in three steps
- Run the cables. Run rated automotive cable, red and black, from the engine bay to where the unit will sit. Follow the chassis rail, secure it along the way with clips or ties, and keep it clear of exhaust heat and moving parts. Leave the battery end disconnected.
- Connect at the battery. Fit a correctly rated inline fuse on the positive, as close to the starter battery as you can. Then connect positive to positive and negative to negative.
- Terminate to the blue plug. Crimp the cable into the supplied blue 50A Anderson connector, check the polarity, and plug in the unit.
The step-by-step drawing for utes, wagons and canopies is on the DIY dual battery setup page.
Cable and fuse: the rules that matter
The CF100 vehicle input draws up to 55A from the starter battery while its 40A DC-DC charger is working. Size the cable and the fuse for that, not for the 40A charge figure.
- Cable size depends on the run. A canopy is a longer run than the back seat, and a longer run needs heavier cable to keep the voltage up at the plug. Undersized cable is a common reason a DC-DC charger charges slowly.
- The fuse protects the cable. Rate it to the cable and fit it near the battery, so a short anywhere along the run is protected.
- Polarity is not optional. The manual is plain about it: reversed polarity, undersized cable and poor connections damage the system. Check twice before the first plug-in.
Not sure of the cable size for your run? Tell us the vehicle and where the unit sits, and we'll give you the size and the fuse.
The first charge test
With the unit plugged in and switched on, start the engine. The unit measures the starter battery and switches its DC-DC charger on once the voltage is above 12.8V. The vehicle light on the front panel comes on and the amp gauge shows the charge going in.
Turn the engine off and the charger switches itself off as the starter battery drops below 12.8V. That's the starter battery protection: the unit won't draw it down. Press the ON and OFF buttons together to read the voltage at the blue plug, which is the quickest check that the cable is doing its job.
Moving it to another vehicle
The DC-DC charger lives inside the unit, not in the vehicle. To use the same unit in a second vehicle, fit that vehicle with its own fused cable and blue plug, the same way. The unit unplugs, lifts out by the handle and plugs into the next one. There is no second charger to buy.
Size the battery before you buy
Fit is one question. Capacity is the other. Work out your daily use in amp-hours and divide: the method and worked numbers are in what size dual battery you need. Most weekend setups sit inside 100Ah, which is the Centerfire CF100.
When to have it fitted for you
If you're not confident with 12V wiring, or the vehicle has a battery in an unusual spot, have a qualified auto electrician run the cable. It's a short job, because the unit itself needs no fitting beyond being secured. Ask us whether there's a recommended Topo installer near you.
The connections and specs are in full in the CF100 manual, on our user manuals page.
Questions
Do I need a separate DC-DC charger?
Not with the Centerfire CF100. The 40A DC-DC charger is built into the unit. The vehicle only needs the fused cable from the starter battery to the blue Anderson plug.
How much current does the vehicle input draw?
Up to 55A from the starter battery on the CF100. Size the cable and fuse for that figure and for the length of your run.
Will it drain my starter battery?
No. The unit only charges from the vehicle when the starter battery is above 12.8V, so it switches off when the engine stops and leaves the starter battery alone.
Can I move the unit to another vehicle later?
Yes. The DC-DC charger is inside the unit, so the next vehicle only needs the same fused cable and blue plug fitted.